External drive not showing up on a Mac? Fix it
If an external hard drive is not showing up on your Mac, check the cable, port and power first, then make sure Finder is set to show external disks. If the drive is still missing, open Disk Utility, choose View > Show All Devices, select the drive and click Mount. If it won’t mount, run First Aid on it.
Is the drive connected and getting power?
Most missing drives are a connection problem. Work through Apple’s checks in order:
- Unplug the drive and plug it back in, straight into a port on your Mac, without a hub or extension cable.
- Try a different port, then a different cable.
- If the drive has a power adapter, make sure it’s plugged in. A drive without its own power cable shouldn’t be plugged into another device that has none either: connect it to your Mac directly.
- Restart your Mac: Apple menu > Restart. Apple notes that a restart can reset the USB controller and the way disks are mounted.
On a Mac laptop with Apple silicon, a new USB or Thunderbolt accessory has to be allowed first. If you clicked Don’t Allow when your Mac asked “Do you want to connect the USB accessory to this Mac?”, it won’t recognize the drive. You’re asked again the next time you connect it. The setting is in Apple menu > System Settings > Privacy & Security, under Allow accessories to connect.
How do I make external drives show up in Finder?
Finder can hide a drive that’s connected and working. To show external drives again:
- In the Finder, choose Finder > Settings.
- Click General, then select External disks. Connected drives now appear on the desktop.
- Click Sidebar, then select External disks under Locations. Connected drives now appear in the Finder sidebar.
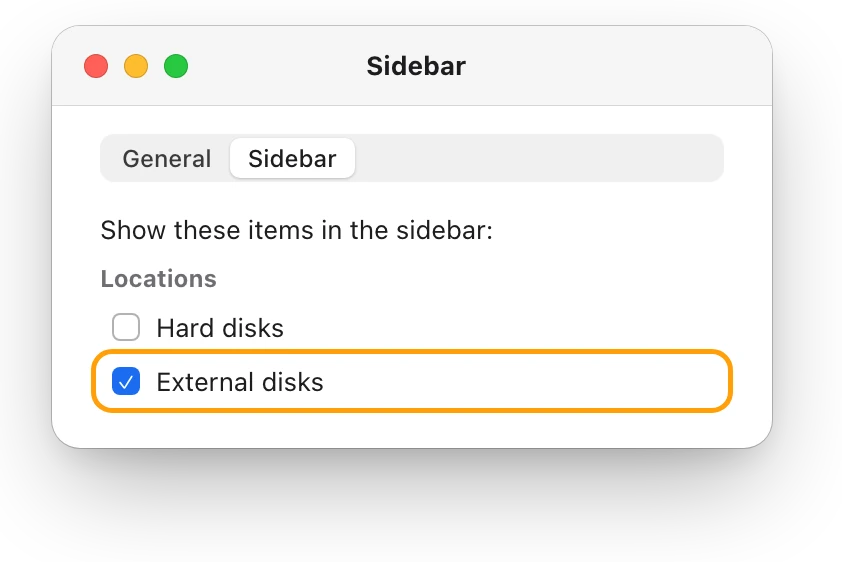
Does Disk Utility see the drive?
Disk Utility can list a drive that Finder doesn’t show, because macOS hasn’t mounted it: made it ready to open.
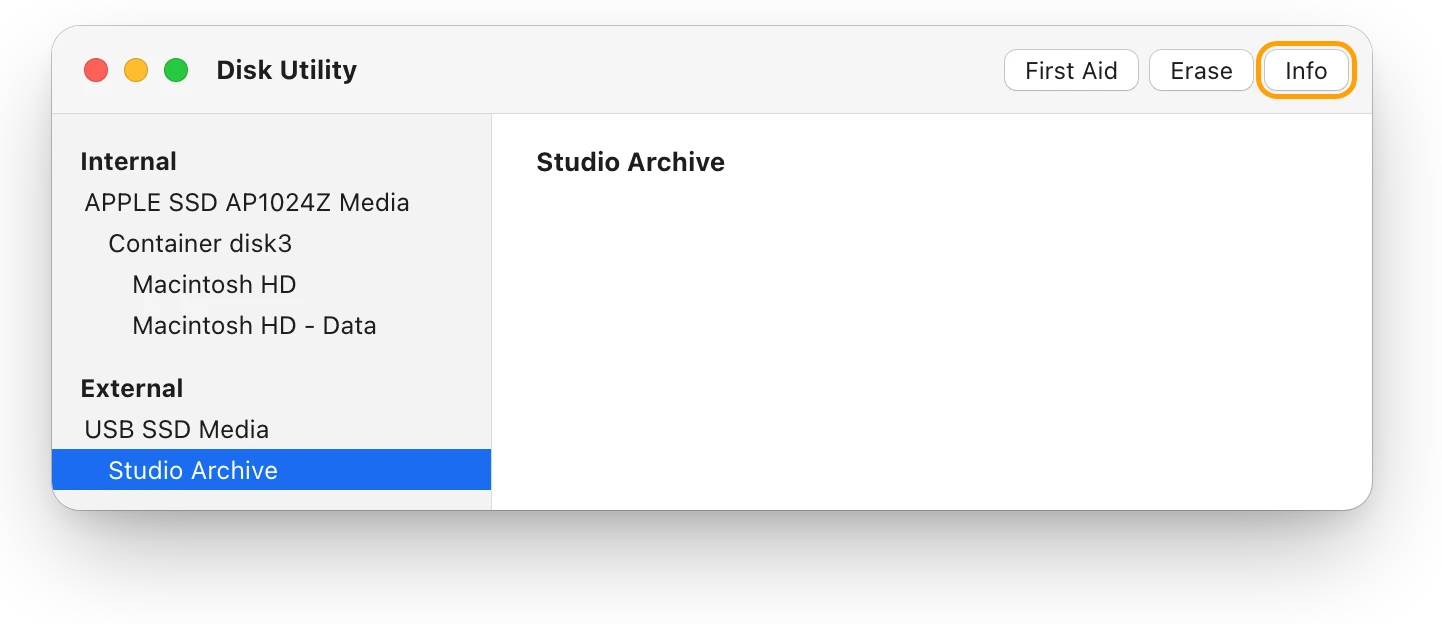
- Open Disk Utility. It’s in Applications > Utilities, or search for it with Spotlight.
- Choose View > Show All Devices.
- Find the drive in the sidebar, under External. If its name is grayed out, select it and click Mount.
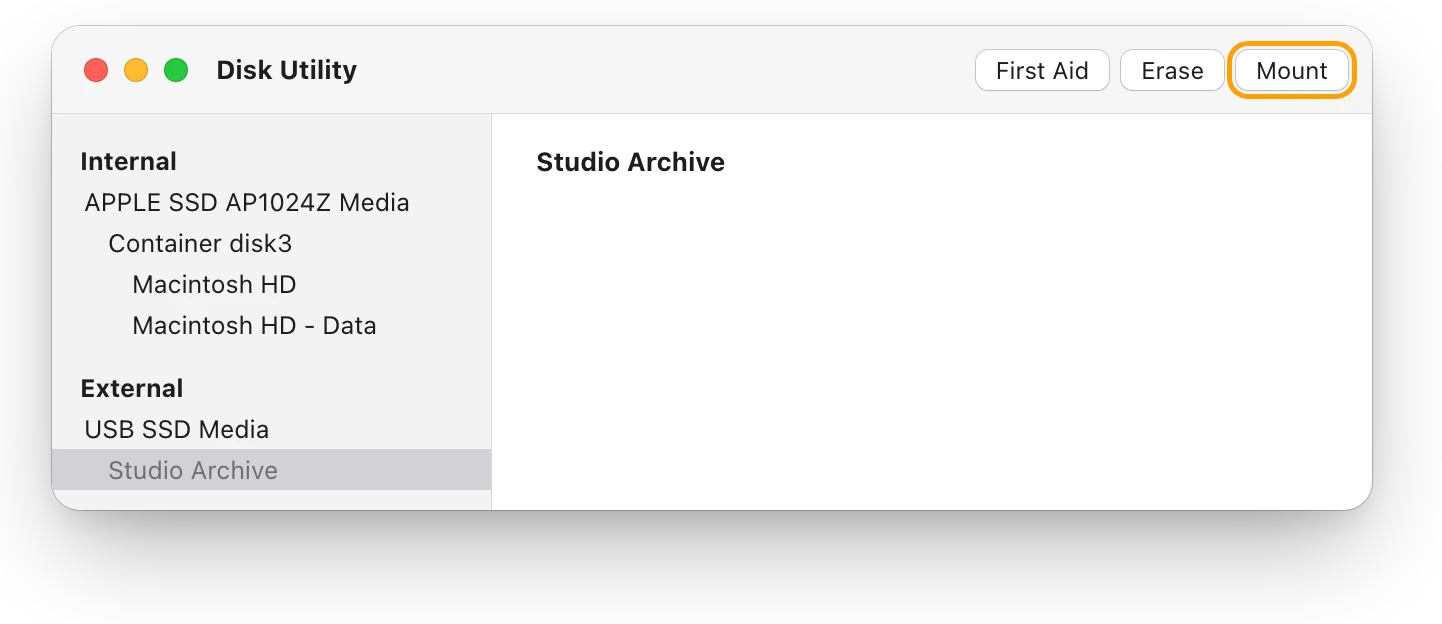
If the drive won’t mount, repair it with First Aid. Select each volume on the drive, click First Aid, then click Run. Do the same for each container, then for the drive itself, and try Mount again. If First Aid says the disk appears to be OK or has been repaired, you’re done. If it says the disk is about to fail, copy what you can and replace the drive.
Does your Mac see the drive at all?
If the drive isn’t in Disk Utility either, check whether your Mac sees the device itself.
- Press and hold the Option key, then choose Apple menu > System Information. You can also go to Apple menu > System Settings > General > About and click System Report.
- Under Hardware in the sidebar, click USB. A Thunderbolt drive is listed in the Thunderbolt section.
- Look for your drive in the list.
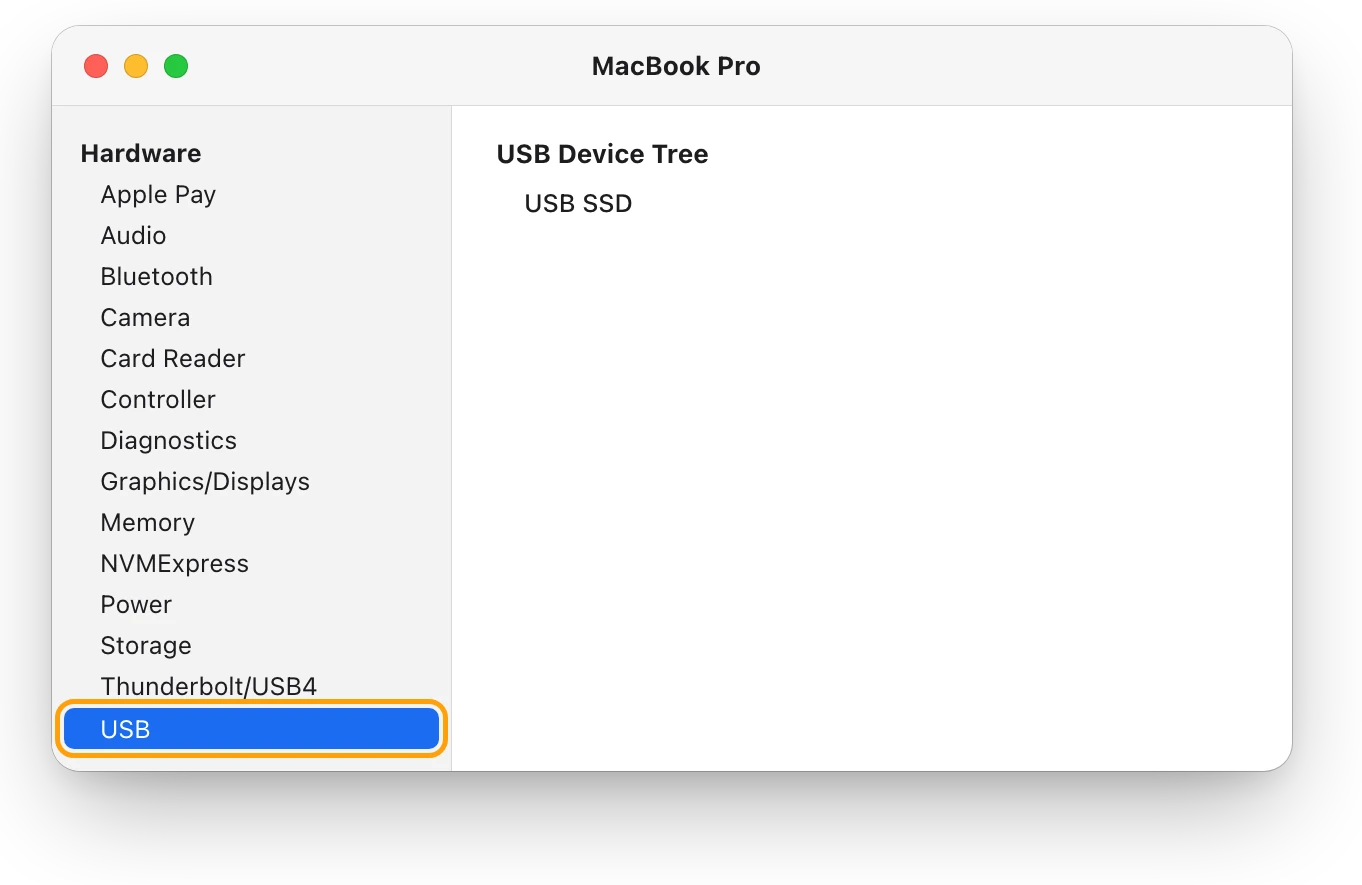
If the drive is listed, your Mac sees it, and Disk Utility is the place to fix it. If it isn’t listed, go back to the connection checks with nothing else plugged in but the drive. Apple also suggests unplugging every other USB device except an Apple keyboard and mouse, then adding them back one at a time to find the one causing the problem.
What if the drive’s format isn’t supported?
A drive can connect fine and still not work as expected because of its format, the way it organizes files. Disk Utility offers APFS, the Mac’s own file system, and two formats that work with Windows: ExFAT and MS-DOS (FAT). Some Mac features need a Mac format: Time Machine, for example, can’t back up to a disk formatted for Windows.
If you see an error such as “The operation can’t be completed because the disk is read-only”, Apple notes that a damaged file system can make macOS mount a drive read-only. Apple suggests running First Aid on it in Disk Utility from macOS Recovery.
When should I erase and reformat the drive?
Only as a last step, once your files are safe. Erasing a drive deletes everything on it. If First Aid can’t repair the drive, Apple’s advice is to back up as much of your data as you can, then reformat it. If the drive came formatted for Windows and you only use Macs, erasing it as APFS makes it a Mac drive. APFS, exFAT or Mac OS Extended: which format to use walks through the choice.
Questions people also ask
Why does my external drive show in Disk Utility but not in Finder?
Either macOS hasn’t mounted it, or Finder is set to hide external disks. Select the drive in Disk Utility and click Mount, then check Finder > Settings.
Why isn’t my external SSD showing up on my MacBook?
On a Mac laptop with Apple silicon, a new accessory has to be allowed when you connect it. If you clicked Don’t Allow, the Mac won’t recognize the drive until you allow it the next time you connect it.
Is my drive broken if it won’t mount?
Not necessarily. First Aid can repair many disk problems, though Apple notes that it can’t detect or repair every problem a disk may have.
Can a Mac use a drive formatted on a Windows PC?
Yes, if it’s ExFAT or MS-DOS (FAT): Disk Utility lists both as formats for drives used with Windows and Mac computers.
Scope for Mac · Free, coming to the Mac App Store
How Scope helps
Scope is a free Mac menu bar app that lists every drive macOS has mounted, with how full it is, how it’s connected and what it’s reading and writing right now. If a drive is in Scope, macOS has it ready; if it’s missing from Scope and Finder alike, Disk Utility is the place to look.
In your menu bar
Scope Free’s one whole menu bar item can show several drives: here Macintosh HD as Mac, at 91%, and Studio Archive as Stu, at 39%. A drive that disconnects leaves the item.

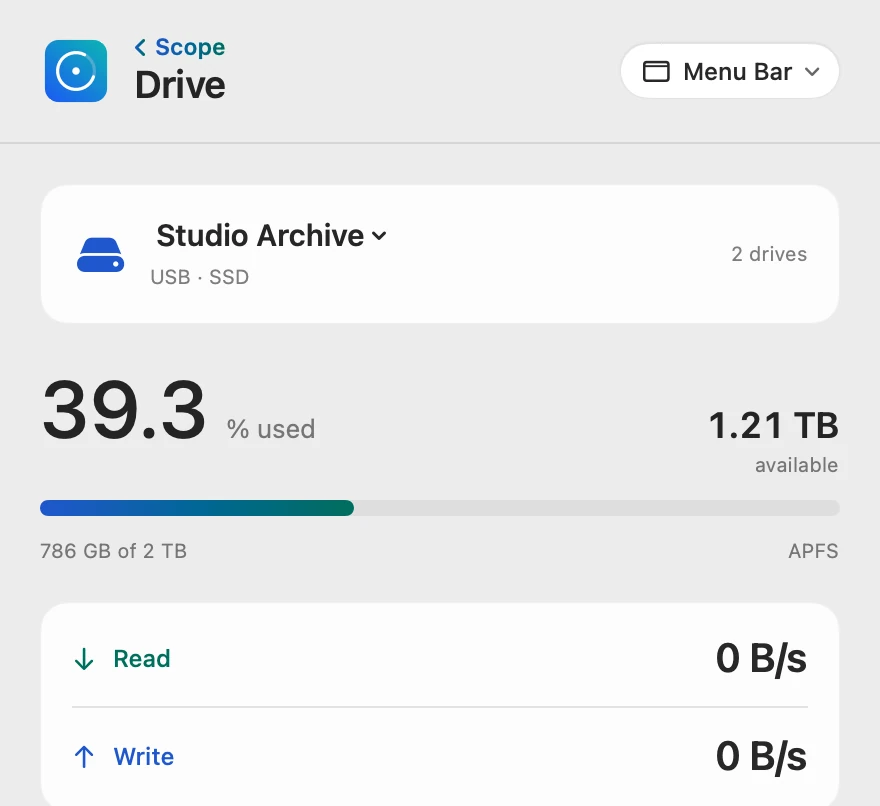
Every mounted drive
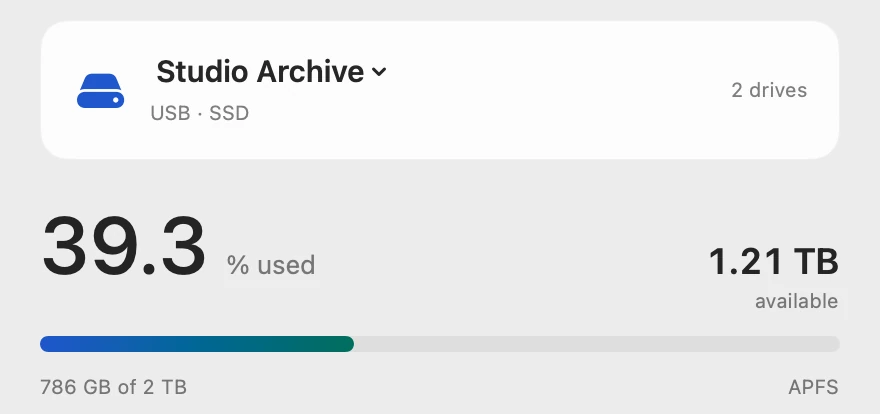
Scope counts the drives macOS has mounted, 2 drives here. Click the drive’s name to switch between them.
How it’s connected
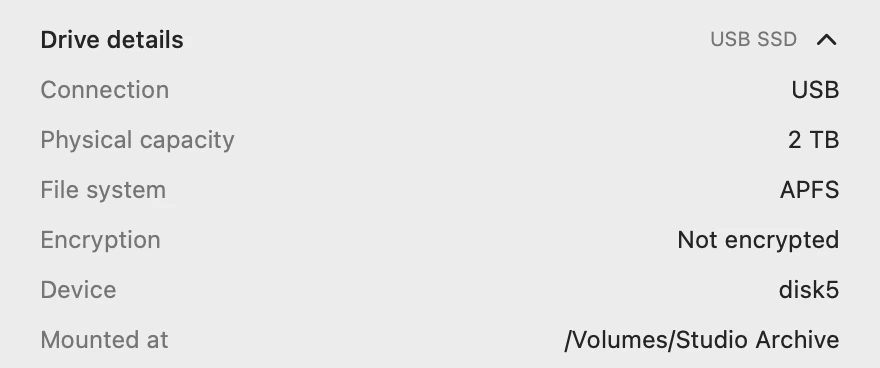
Drive details shows the connection, the file system and where macOS mounted the drive, in one card.
Scope shows and explains. It never mounts, ejects, formats or repairs drives: Finder and Disk Utility do that.
Try it here
The real Scope, working, right in this page.
Click any item in the menu bar, or a card inside, as you would on your Mac.
Scope Pro Every menu bar item is shown here. Scope Free keeps one whole item of your choice, with every reading inside.
See your own drives at a glance.
Keep reading
Guide · Drives
External hard drives and SSDs on a Mac: a guide
How to test an external drive’s speed on a Mac, fix one that won’t show up, eject it safely, pick a format and check its health, with macOS’s tools.
Drives
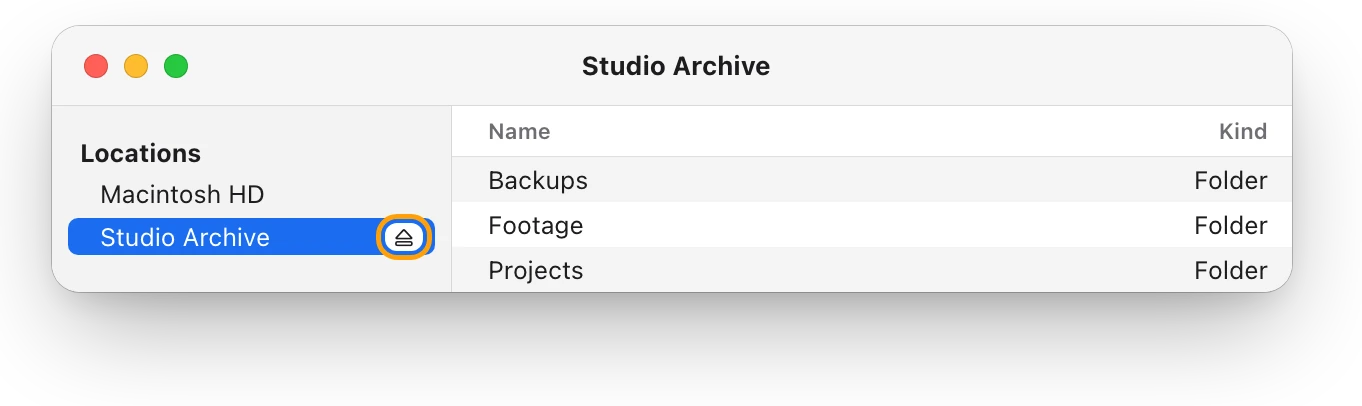
“Disk Not Ejected Properly” on a Mac: why it happens
“Disk Not Ejected Properly” means a drive left your Mac before it was ejected. Here’s how to eject safely, why drives drop out, and how to check yours.
Drives
APFS, exFAT or Mac OS Extended: which format to use
For a Mac-only external drive, choose APFS; for one shared with Windows, choose exFAT. Here’s how the formats compare, and how to check or change yours.
Drives
How to test SSD speed on a Mac
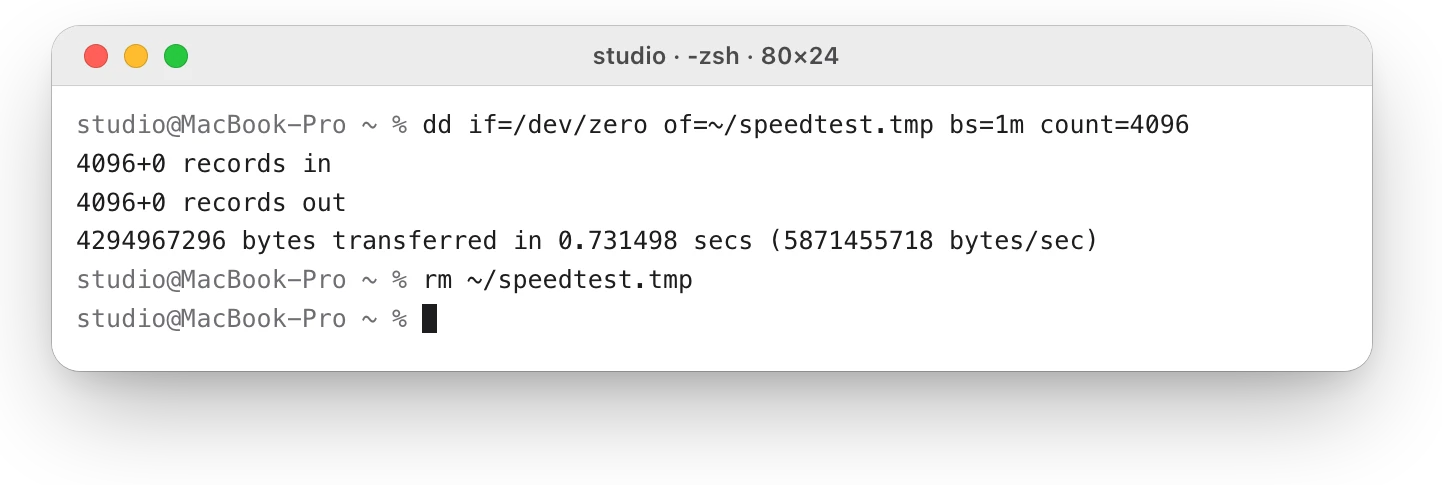
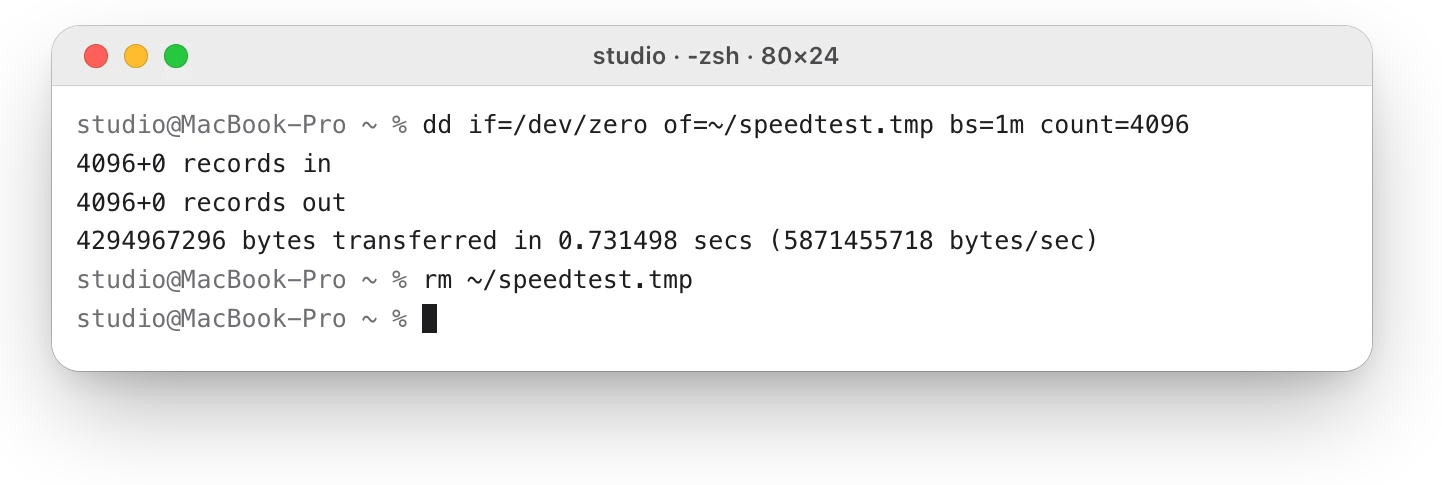
macOS has no SSD speed test, but Terminal’s dd gives a rough write speed. Here’s how to run it safely, and why caching can make the result look too fast.
Storage
“Your disk is almost full”: what to do first
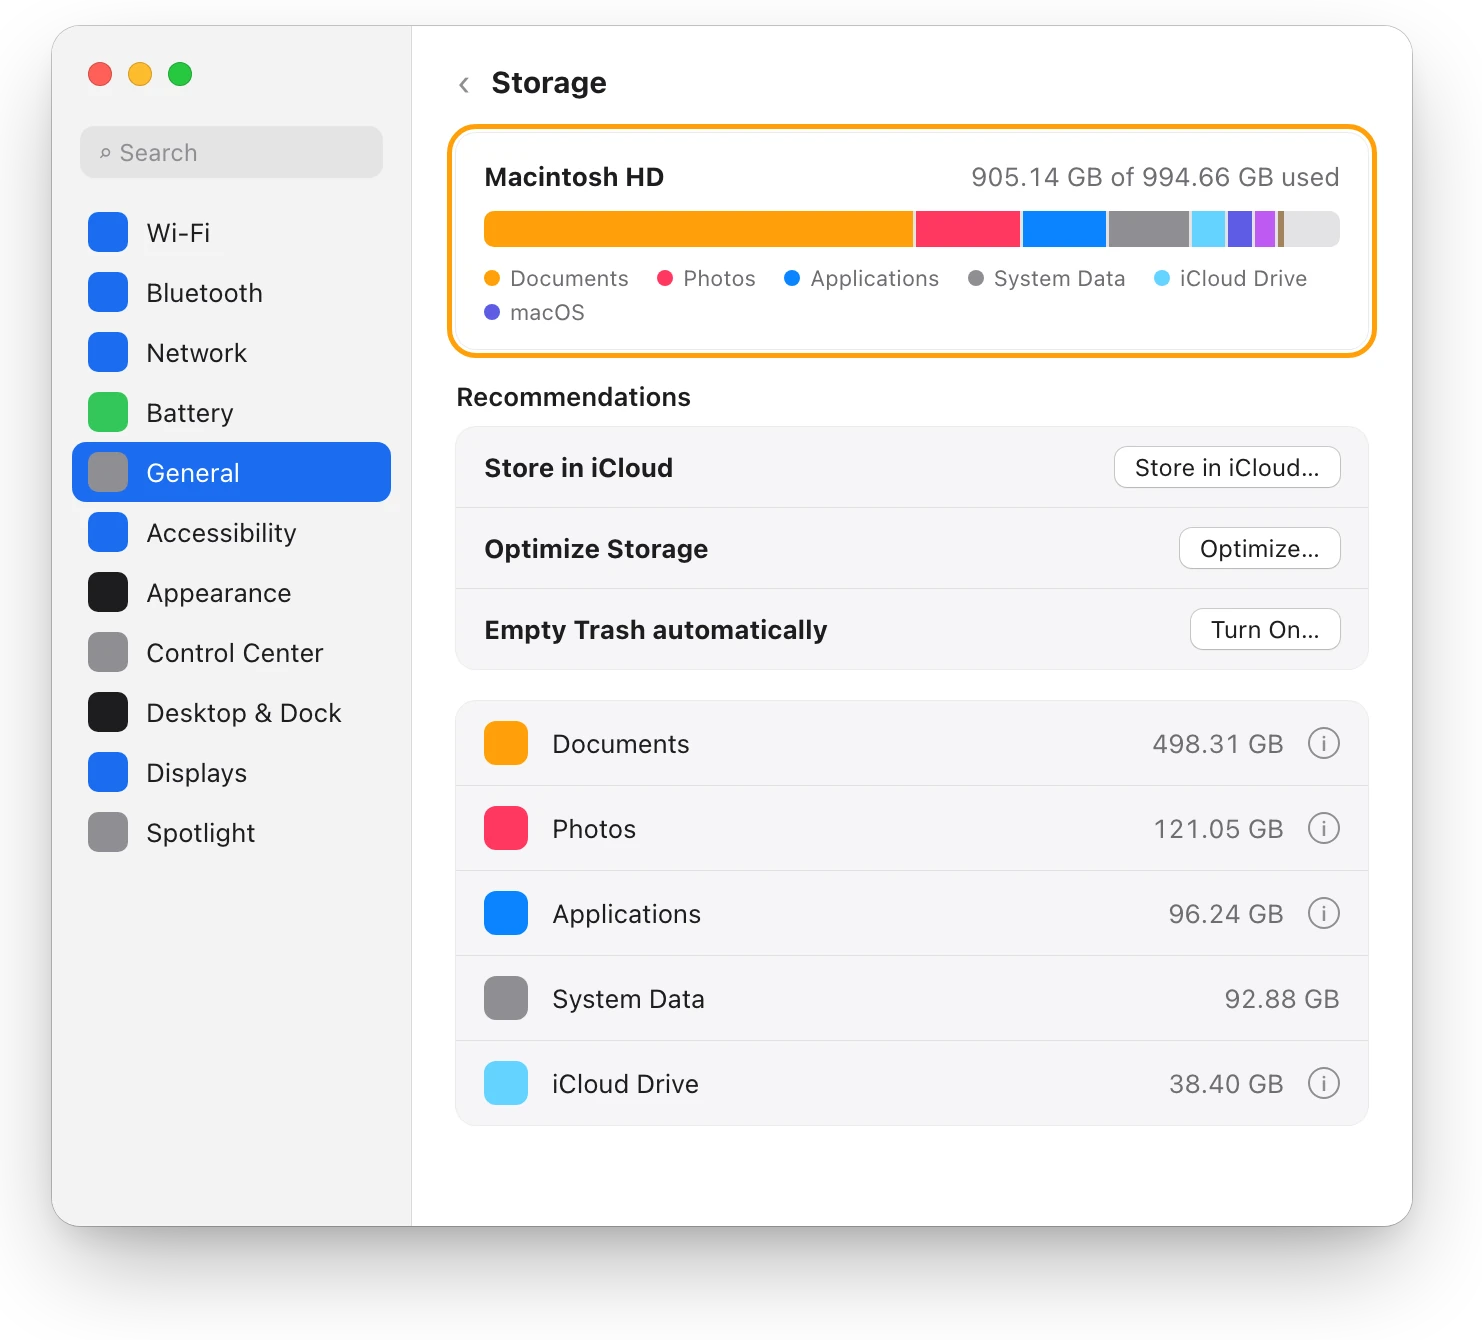
When your Mac’s disk is almost full, check Storage in System Settings, empty the Trash, then delete or move large files. Here’s what to do first.
Sources
- Apple Support (Apple Platform Support): Use Disk Utility
- Apple Support: Allow USB and other accessories to connect to your Mac
- Apple Support: See the devices connected to your Mac
- Apple Support: Connect and use other storage devices with Mac
- Apple Support: Repair a storage device in Disk Utility on Mac
- Apple Support: System Information User Guide
- Apple Support: If a USB device doesn’t work with Mac (macOS Ventura guide)
- Apple Support: If a Thunderbolt device doesn’t work with Mac (macOS Ventura guide)
- Apple Support: File system formats available in Disk Utility on Mac
- Apple Support: Format a disk for Windows computers in Disk Utility on Mac
- Apple Support: Types of disks you can use with Time Machine on Mac
- Apple Support: Erase and reformat a storage device in Disk Utility on Mac
Last checked October 18, 2026. Readings, apps and files in the pictures are from a made-up Mac.